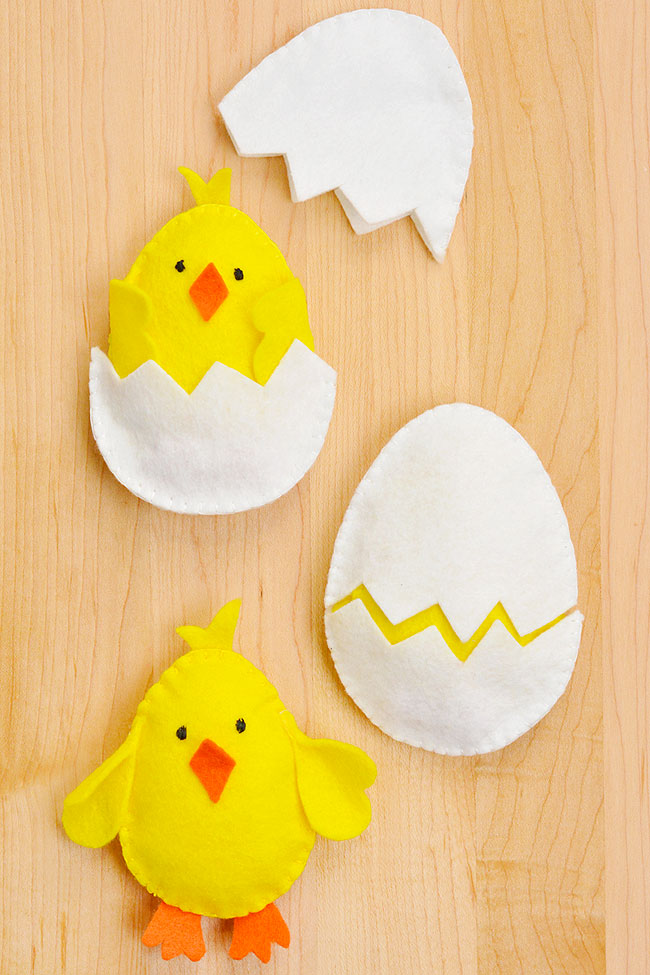
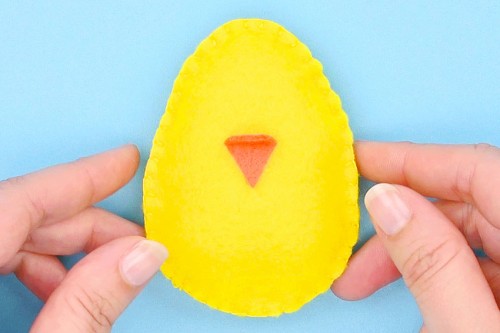
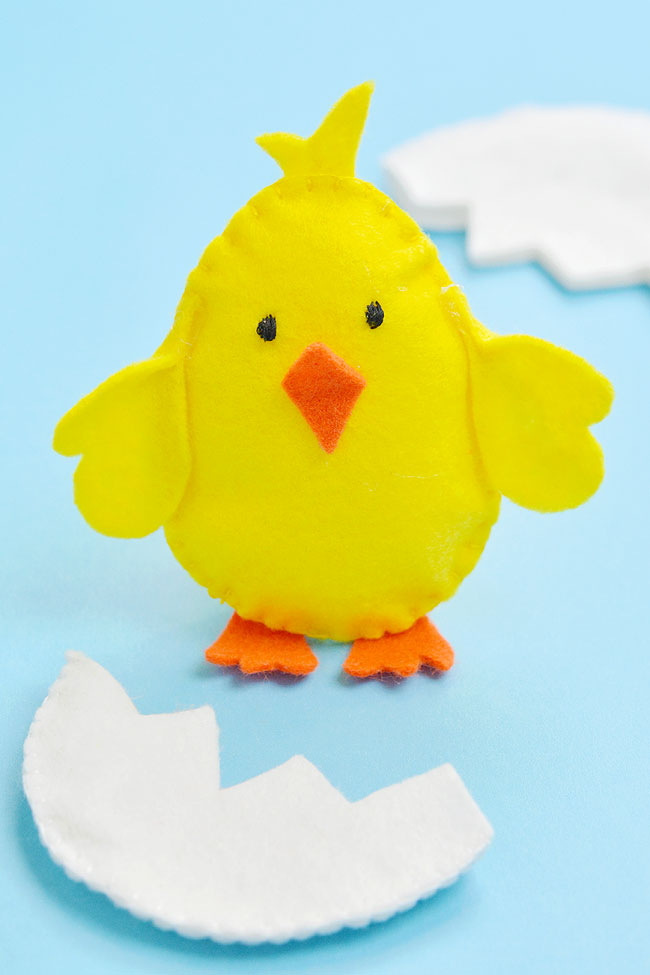
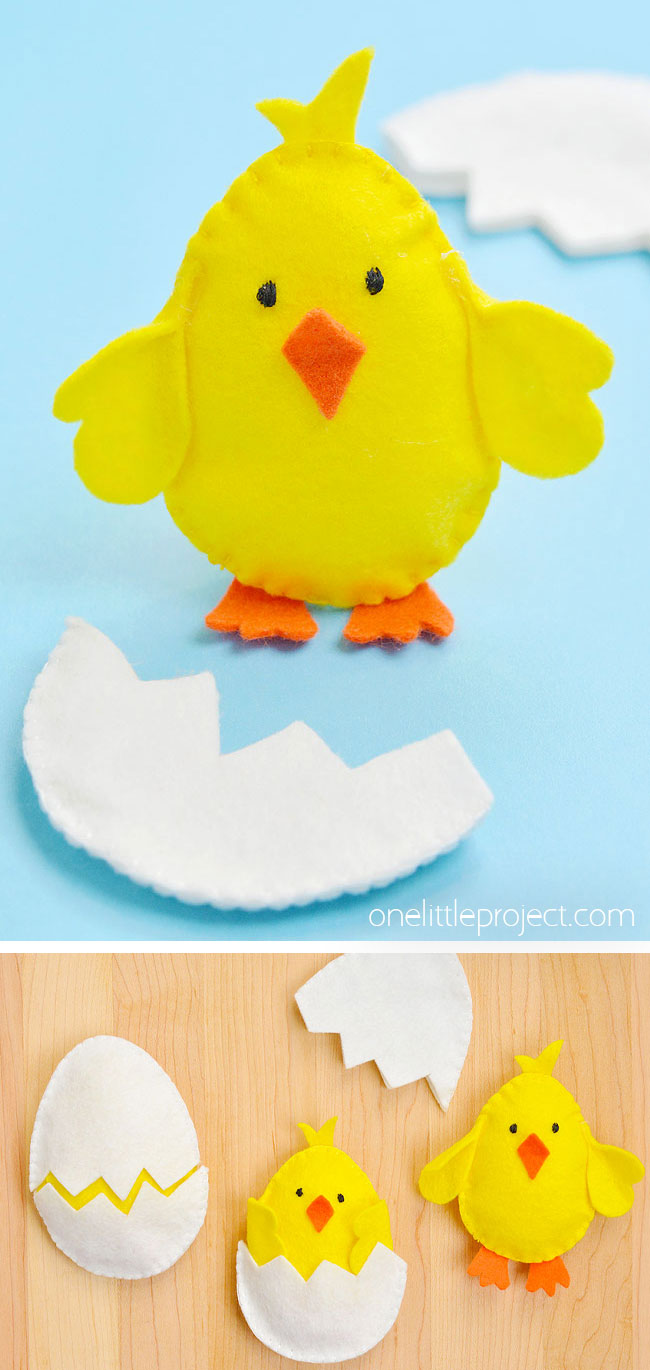
Use our FREE felt chick pattern to make an adorable 3-in-1 Easter chick! This baby chick is SO CUTE, and it’s really easy to make, perfect for beginners to sewing.
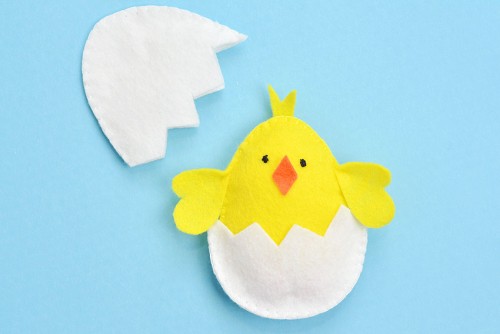
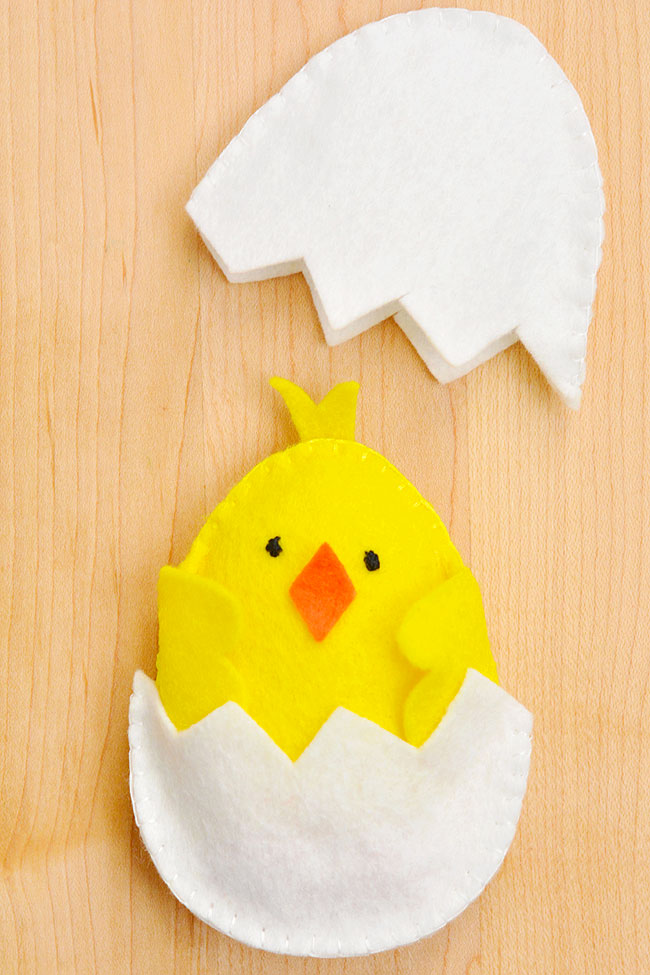
This spring chick looks truly adorable by itself, or hatching out of its eggshell. It’s a fun and easy Easter craft that’s perfect for a spring storytime or pretend play.
This post contains affiliate links. If you use these links to buy something we may earn a small commission which helps us run this website.
This felt chick is such a cute DIY toy, and it's really easy to make using our free pattern for the chick and its eggshell house.
Author: Debbie Chapman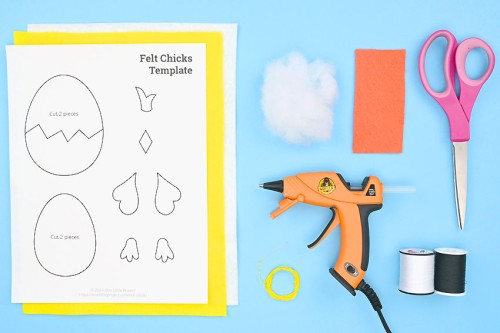
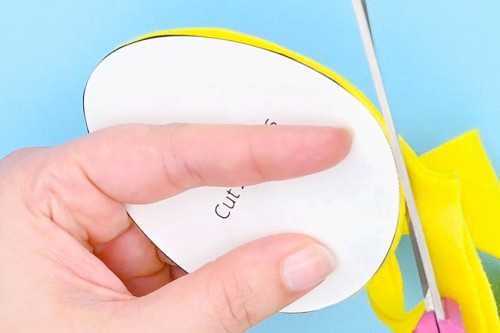
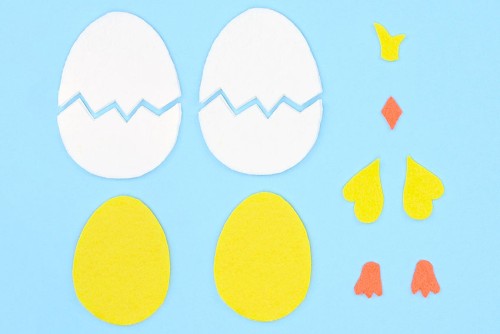
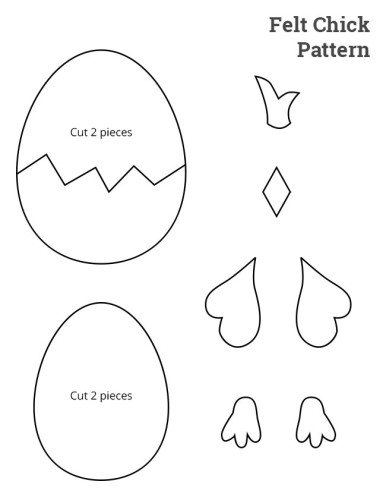
Print our free felt chick pattern (link in the materials list above!) and cut out the template pieces.
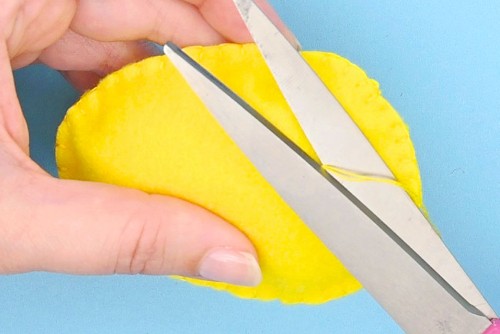
Make sure you cut the egg template into 2 pieces on the zig zag line.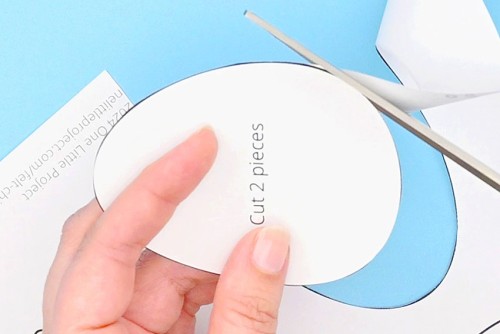
Or you can pin the pattern to the felt or trace around it with chalk or a gel pen if you’re worried about the template pieces moving as you cut the felt.
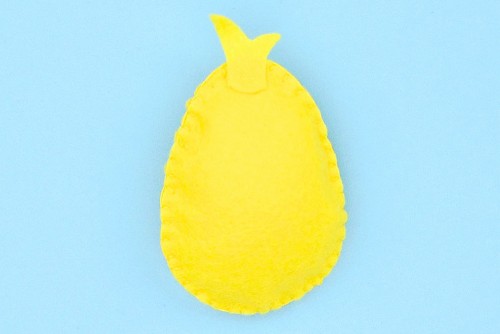
Line up the 2 pieces of the chick's body and use a sewing needle and a double layer of yellow thread (or 2 strands of embroidery floss) to blanket stitch the edges together.
Start by putting your needle through both layers of felt, about 1/8 inch away from the edge.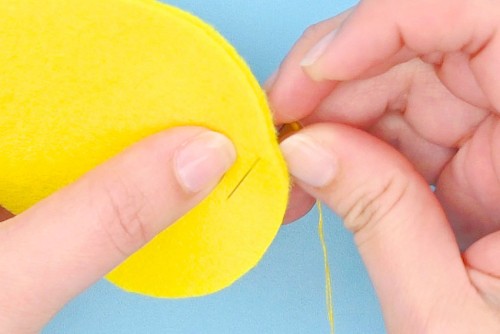

Tuck the excess thread inside the pieces of felt, and bring the needle in from the bottom of the felt, about 3/16 inch (5mm) away from the last stitch.
Wrap the thread around the needle before pulling it through.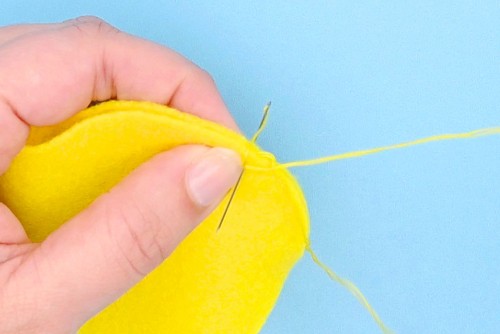
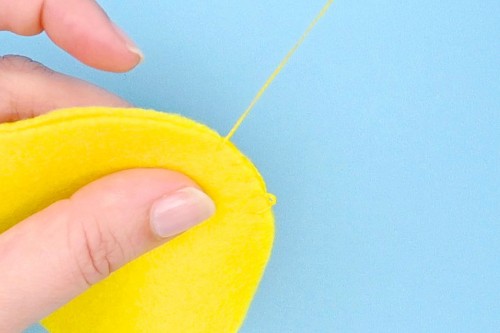
Continue blanket stitching the 2 sides of the chick together, stopping when there's about 2 inches left open.
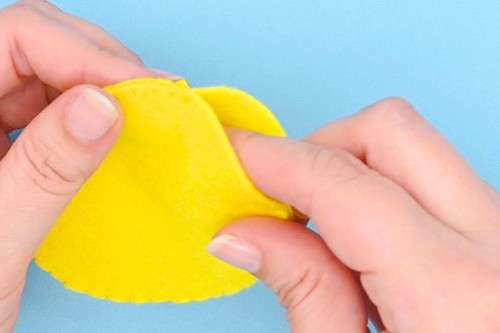
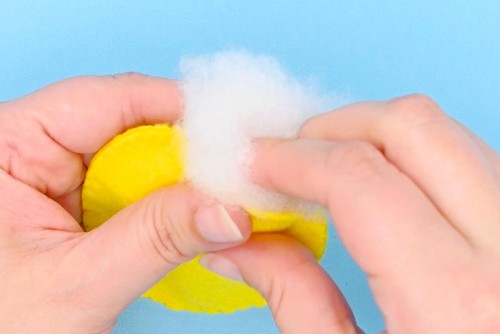
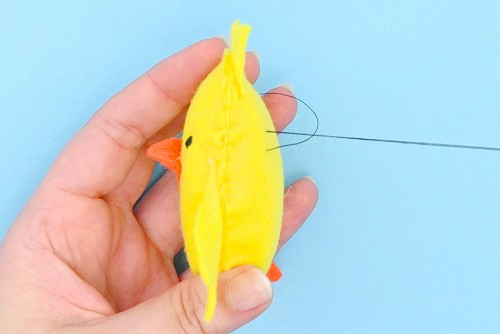
Finish sewing the chick's body body together and finish by pushing your needle through the center of the body.
Cut off the thread close to the felt and then wiggle the felt around to make the thread disappear inside.
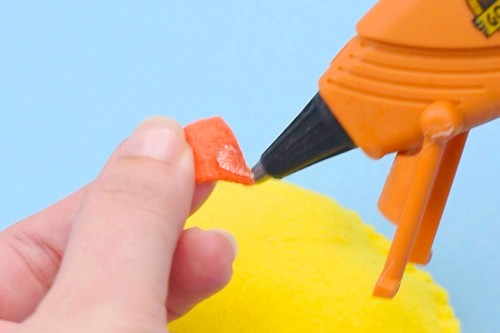

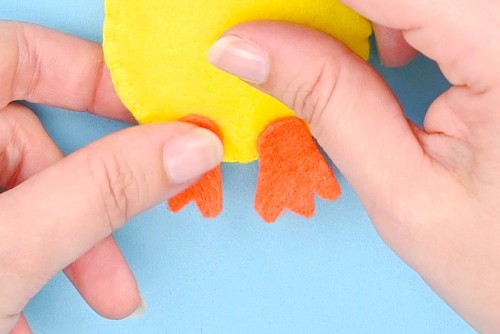
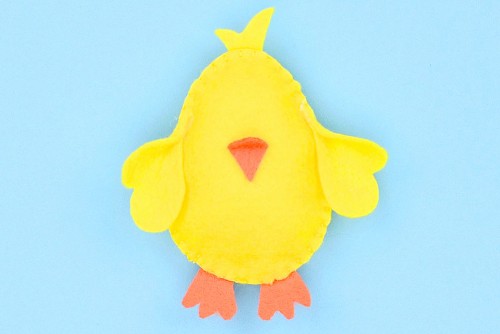
Add a dot of glue to the backs of the feet and attach them to the bottom back of the chick, sticking out from the bottom.
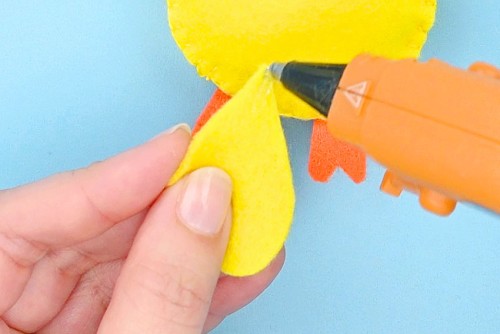
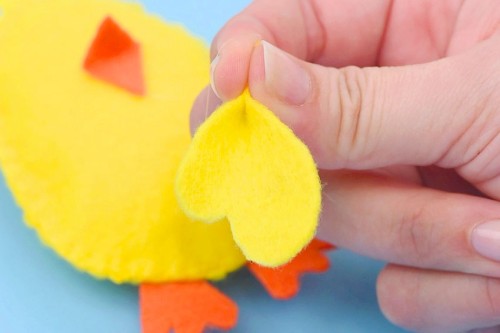
Attach the wing to the side of the chick, leaving the rest of it unglued so it can "flap" and be folded in.
Repeat, attaching the second wing to the other side. Be sure to add the glue to the opposite side so the wings match.
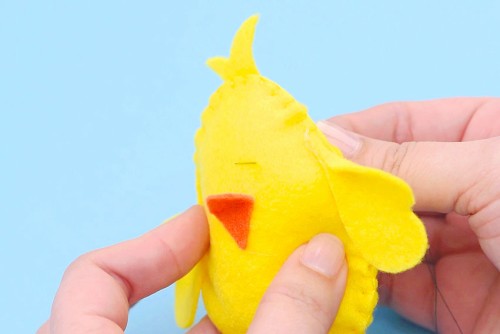
Bring the needle up or down and sew just through the top layer of felt. Go back and forth with the thread until you're happy with the size of the eye.
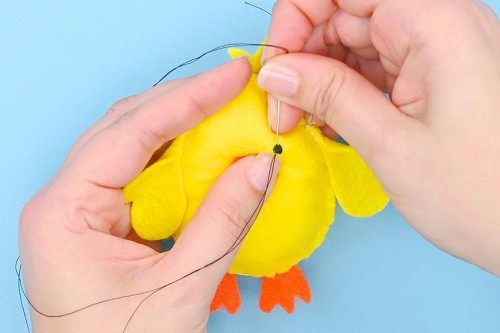
When you're finished with the first eye, put your needle through both layers of felt so the thread comes out the back.
Cut off the excess thread at the back and then pinch the back felt to hide the black dots of thread inside the chick.
Repeat, sewing on the second eye.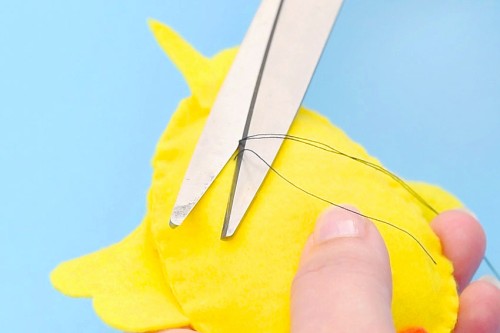
Use white thread to sew the two sides of the egg together with a blanket stitch. Leave the zig zag edge unsewn.
Repeat with the second part of the egg.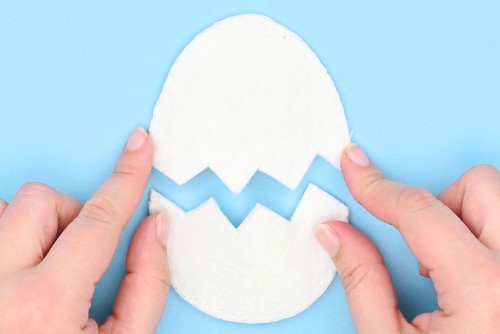
The link and picture below will take you to our free, printable felt chick pattern! The PDF file will open in a new window. Then simply print the template on 8.5 x 11 (letter size) printer paper.
No, you can also put the felt chick together using hot glue. Check out our free felt dragon pattern for more detailed instructions on how to do this.
Just keep in mind that the glued edges may separate with repeated handling/play, especially with pulling the chick in and out of the shell.
We used a blanket stitch to sew our chick and egg together.
You can also use a running stitch like we did with our felt pumpkin. The running stitch is a bit easier to do, and it will definitely work, but it’s not quite as sturdy as the blanket stitch.
The egg is just over 4-1/4 inches tall. The felt chick itself is 4-1/2 inches tall, including its sprig of feathers and feet. The chick body is just under 3-1/2 inches tall and 2-1/2 inches across.
No, you can also glue or sew on black beads for the chick’s eyes. Or you can use googly eyes!

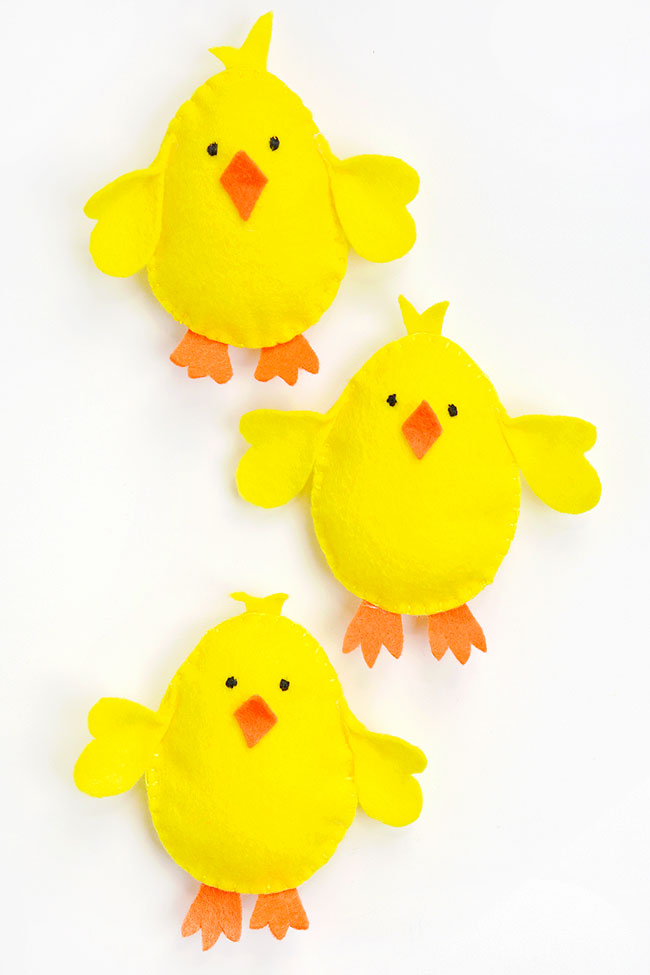
Which came first — the felt chick or the egg? We’re not sure, but we love playing with this adorable spring chick and its egg house!
Set your felt chick toy in an Easter basket, use it as a gift topper, or attach an ornament hanger to place it on an Easter tree. It’s so cute and easy to make!
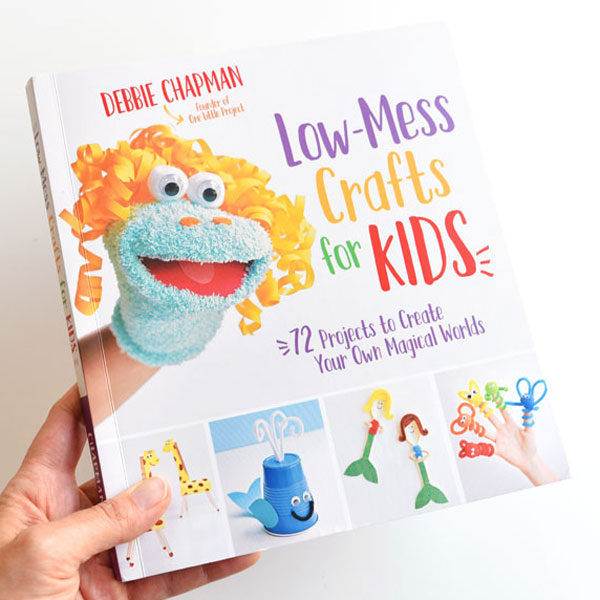
Our book Low-Mess Crafts for Kids is loaded with 72 fun and simple craft ideas for kids! The projects are fun, easy and most importantly low-mess, so the clean up is simple!
You can purchase Low-Mess Crafts for Kids from Amazon, or wherever books are sold: